Autoflowering Seeds: A Quick Germination Guide
Welcome my grower friend. Are you planning to start growing your cannabis? I am so excited for you! You are about to start the most exciting adventure. Today, let me tell you all about autoflowering seeds. Getting the right seed is the first step to ensure you are taking the right direction in the cannabis growing journey.
Here is a quick guide on how you can germinate your cannabis autoflowering seeds and some tips to give you a desirable harvest. Let’s begin with knowing the anatomy of cannabis seed.
Cannabis Seed: Anatomy
Cannabis seeds are oval, tapered at the tip, and have a hard, dark brown shell protecting the plant material inside.
In the germination process, the shell is softened through hydration, and the water activates the embryo. It wakes up from the dormant state and starts growing.
While hydrating, you must make sure that the seed doesn’t drown or nor should it dry out. Once the shell is soft, the radicle comes out easily and then the taproot will appear gradually. Once the taproot grows to 2-3 cm, you can plant it in a growing medium.
When the seedling grows out of the soil or coco peat, you can notice two little leaf-like structures with the shell stuck on the top of them. These are called cotyledons that feed the plant till the true leaves come out.
Autoflowering Seeds
Autoflowering Marijuana seeds are the simplest ones to grow, and they are the best for beginners whether you want to grow them indoors or outdoors. If you have a relatively low growing season, autoflowering seeds would be best for you. These seeds are specially bred so that you don’t need to change the light during the flowering phase.
Germinating The Cannabis Seeds: The Ideal Conditions
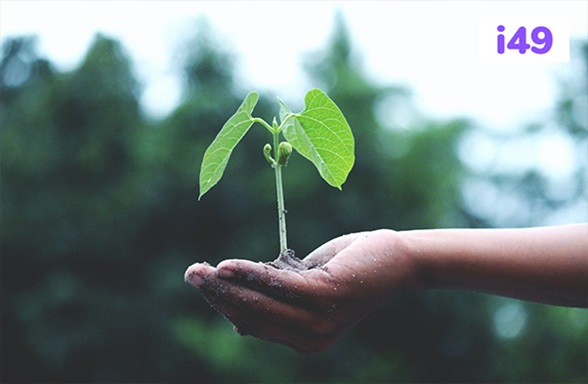
Cannabis plants require appropriate conditions to germinate. If you provide the best conditions, you will get the best yields. The seeds will sprout if you grow them in bad conditions, but the harvest will not be as good.
When germinating the autoflower seeds, the temperature should be between 21-26 degrees c. Ensure that the humidity stays around 90%.
Germinating Old Seeds
Old seeds are often difficult to germinate. I will share with you some tricks to germinate them but before that, know that these problems can be avoided by storing the seeds properly.
Many growers store seeds for the future growing seasons. Keep the seeds in an airtight glass jar if you want to do so. Keep the jar in a fridge with a temperature around 6-8°C and 20-30% humidity.
Using Supplemented Water
The shell of the marijuana seeds hardens as it grows old, making it difficult for the regular water to soften the seed. Soaking in supplementing water would help you to germinate the old seeds.
For this process, fill a glass cup with water temperature around 22°C and add 30 ml hydrogen peroxide. Your seeds should stay soaking for 12 hrs., and you might also use growth boosters. Don’t keep the water in direct sunlight.
Using Scarification Method
With this method, you have to make ridges on the shell to allow water seepage. You can use sandpaper or a matchbox. Thin out the shell gently but pay attention that you don’t overdo it.
Open The Seed Slightly
You can also gently use a knife or a needle to insert gently between the ridges and separate it a bit. Soak the seed in water normally after that.
Germinating Using A Paper Towel
This process is the easiest germination method, and you will require two paper towels, water and a plastic container for this.
Step 1
Dampen the paper towel. Wring the towels to ensure that they are not wet, just moist.
Step 2
Place your seeds on the towel and fold the towel over the seeds. Then place the towel in the container and put the lid on.
Step 2
- Keep the container in a dark and slightly warm place.
- You should check the towel daily to ensure that the towel doesn’t dry completely.
- You can sprinkle water to ensure that the seed is absorbing water. When the radicle grows 1-3 cm, you can transplant it.
Note: if you notice a bad smell coming out of the towel, you must let it dry for some time if the smell persists. Replace the towel.
Germinating By Soaking In A Glass Of Water Overnight
This method is good for seeds with a hardened shell, and it only needs water and a glass cup.
Step 1
Fill a glass cup halfway with water.
Step 2
Place the seeds in the water and keep the glass in the dark place for about 32 hours.
Step 3
You should see the radicle coming out in 48 hours. If you don’t see any signs of sprouting after three days, add two drops of hydrogen peroxide and keep it in the dark place for two days.
Germinating In A Germination Chamber
A germination chamber is a tool used by professionals. It has a plastic base over a heat mat with small square-shaped cells for one seed. There is also a humidity dome. You can make this tool at home.
This tool is useful for terminating many seeds at once, and you can use it with any mediums like peat pellets, Rockwool cubes, perlite, soil or coco fiber.
For germination, moisten the medium and make a tiny hole to place the seed. Cover it gently and switch on the heat mat. Your seed should sprout within a couple of days.
Germinating In Peat Pellets and Rockwool Cubes
Rockwool cubes are small cubes made up of fibers, and they absorb water and can be transplanted easily into the container or growing medium. Peat pellets are compressed peat moss that comes shaped like a small disc.
You should use the same technique as germinating in a germination chamber. Moisten it, make a little hole, and place the seed and cover it.
Germinating Directly In The Medium
Germinating in the medium is the simplest way as it happens in nature. To do that, make a tiny 1-2 cm hole in the soil, or you’re preferred medium and keep your seed in it. Then cover the soil gently.
When you sprout the seed in the medium, your seedlings won’t go through any stress they face during transplanting. Neither has it had to take any time to recover itself from transplantation shock as you are already germinating it where it will grow into a plant.
In The End
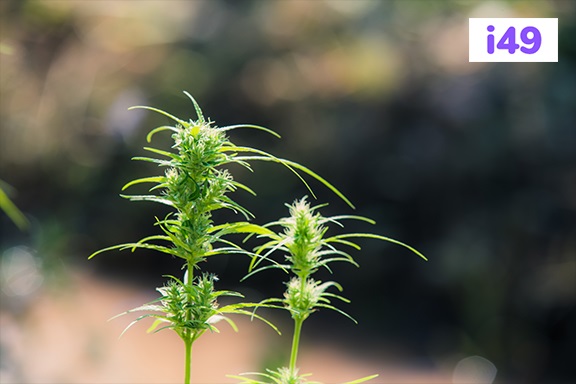
You can choose the method from above that suits you the best. There is no correct method to germinate the marijuana seeds, and I have used all the methods over the years. My favorite is the germination chamber that allows me to sprout a large batch of seeds.
After seeing the cotyledons, you would know that the plant has germinated well. After that, you need to nurture the plant with correct nutrition, heat, and humidity to make it reach the harvesting stage happily.
You should also give a lot of importance to choosing the right autoflowering seed as you do the germination process. If you are a first-time grower or a seasoned one, I suggest you check out i49, the top online seed bank with an incredible range of easy to maintain, hardy autoflowering strains with stabilized genetics.
I love reading the seed descriptions. They help me decide what kind of result I am looking for and go for it. They often have incredible offers like buy one get one free, that you can avail of.
I hope the above guide will be useful for germinating your marijuana seeds. Remember to maintain a 26-28 degree centigrade temperature and maintain about 70% humidity to ensure faster and successful germination.
Best of Luck with your Cannabis Cultivation.


